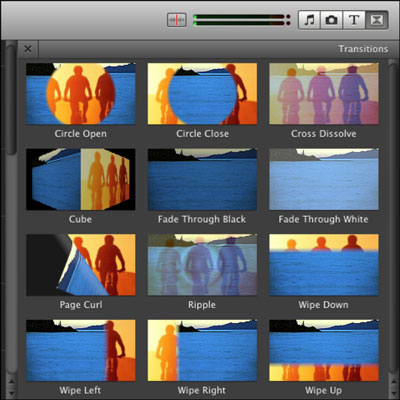
To move from scene to scene in your movie smoothly, you need to add a transition. Apple iMovie gives you a choice of dozen transitions that you can add to your movie. To view these styles in the Transitions pane, click the Transitions button in the toolbar or choose Window→Transitions.

Although you may not know the names of all these transitions, you’ve undoubtedly seen ones such as Fade through Black and Cross Dissolve in movies and television. You can preview other transitions by placing the mouse pointer over them.
When you choose the transition you want, drag it between two clips in your project. A black transition icon shows up. You can substitute one transition for another by dragging another transition over the icon.
Transitions are set to one half of one second by default, and a transition can never last longer than half the duration of the shorter clip on either side of it. All transitions in your video are the same length unless you dictate otherwise by choosing Edit→Set Duration. You can change the length of a selected transition or all transitions in a project.
To use the same transition throughout your movie, select a project, choose File→Project Properties, and choose the transition you want in the pop-up menu. Select the Add Automatically box. Deselect this option if you want to edit or delete any transitions in your project.


