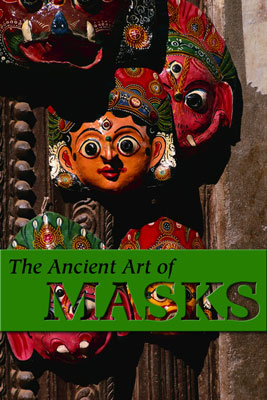
Using the Type Mask tool in Photoshop Elements epitomizes the combination of type and image. The Type Mask tool doesn’t create a new layer. Instead, it creates a selection on the active layer. This is the tool of choice for filling text with an image or cutting text out of an image so that the background shows through.
A selection is a selection, no matter how it was created. So, even though they look like letters, they act like selections. You can move, modify, and save them.

Here are the steps to create a type mask:
In Edit Full mode, open the image of your choice.
Convert your background into a layer by double-clicking the word Background on the Layers panel; and then click OK.
This step enables you to jazz up the type with styles later on.
Choose the Horizontal Type Mask tool from the Tools panel.
Specify your type options (such as font family, style, and size) on the Options bar.
 Horizontal Type Mask tool settings on the Options bar.
Click the image and type your desired text. When you’re done, click the Commit button on the Options bar.
A selection border in the shape of your type appears on your image.
Choose Select→Inverse, which deselects your letter selections and selects everything else.
Press the Backspace (Delete on a Mac) key to delete everything outside your selection border.
Your type is now filled with your image.
Choose Select→Deselect.
Experiment with applying layer styles to your type.
If the Effects panel isn’t visible, choose Window→Effects. Select the Layer Styles button (second from the left) located in the Effects panel. Select the type of Layer Styles you desire from the drop-down menu on the panel, such as Drop Shadows or Bevels. Finally, double-click the exact style you want.
![Fill type with imagery by using the Type Mask tool. [Credit: Corbis Digital Stock]](https://cdn.prod.website-files.com/6634a8f8dd9b2a63c9e6be83/669e15548aec7ee34cc724e9_290076.image1.jpeg) Credit: Corbis Digital StockFill type with imagery by using the Type Mask tool.
Credit: Corbis Digital StockFill type with imagery by using the Type Mask tool.
If you want to view your type against a solid background, create a new layer and then choose Edit→Fill Layer and choose your desired color from the Use drop-down menu.


