When Windows first installs, it isn't joined to a domain network. Instead, it's available as part of a workgroup, which is an unmanaged network suitable only for the smallest of networks with just a few computers and without dedicated servers. To use a computer in a domain network, you must join the computer to the domain. Here are the steps for Windows 10:
Click the Start icon (or press the Start button on the keyboard), and then tap or click Settings.
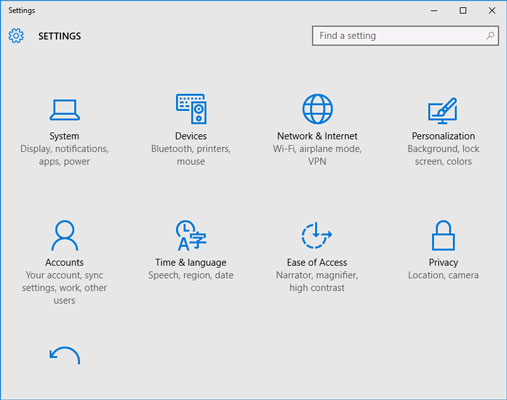
The Settings page appears.
Click System.
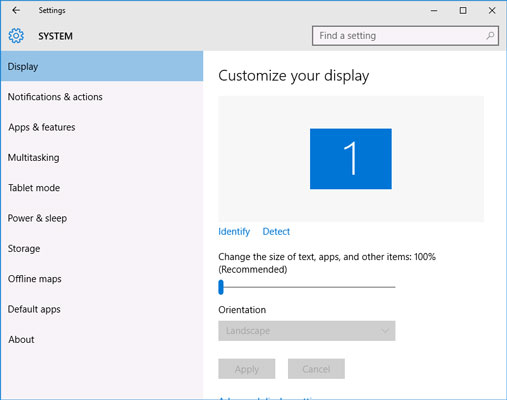
The System settings page appears.
Click About.
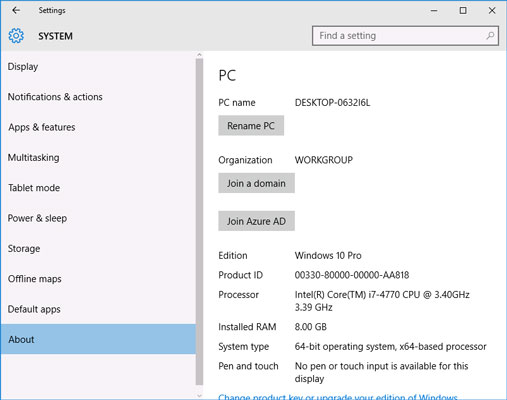
The PC settings appear.
(Optional) To change the name of the computer, click Rename PC.
You’ll be prompted to enter a new name, and then reboot the computer.
Before you join a domain, you should ensure that the computer’s name won’t be the same as the name of a computer that’s already a member of the domain. If it is, you should first change the name.
Click Join a Domain.
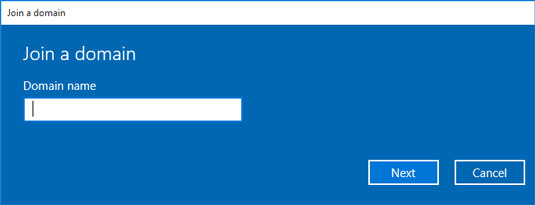
The Join a Domain dialog box appears.
Enter the domain name and click Next.
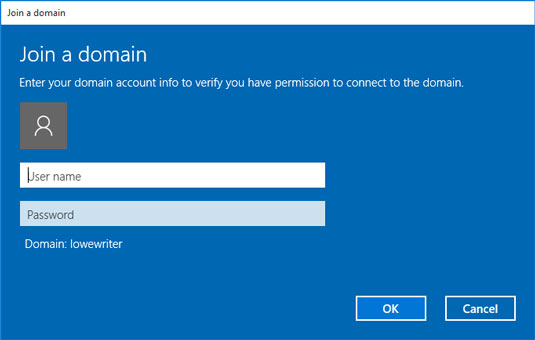
You’re prompted for the username and password of a user who has administration privileges on the domain. Click OK.
Enter the username and password for an Administrator account when prompted.
You’re asked to provide this information only if a computer account hasn’t already been created for the client computer.
When informed that you need to restart the computer, click Restart Now.
The computer is restarted and added to the domain.


