An action button is a special type of AutoShape that places a button on the PowerPoint 2013 slide. When the user clicks the button during a slide show, PowerPoint takes whatever action you’ve designated for the button. A well-planned arrangement of action buttons scattered throughout a presentation can make it easy for someone to view the presentation in any order he or she wants.
PowerPoint provides a selection of built-in shapes for action buttons. To add a button to a slide, follow these steps:
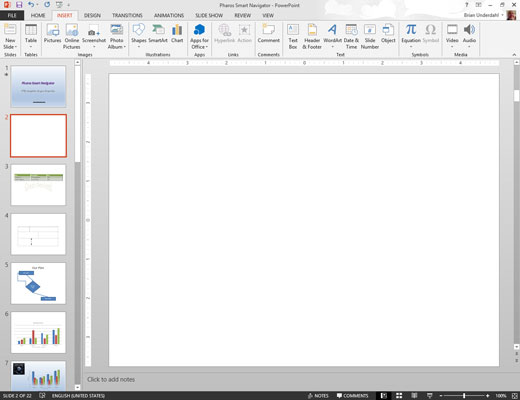
Move to the slide on which you want to place a button. Open the Insert tab on the Ribbon

You may want to create a new slide just for navigation.
Click the Shapes button in the Illustrations group, and select one of the Action Button shapes found at the bottom of the gallery that appears.

Choose a button that people will recognize so they’ll know what the button does.
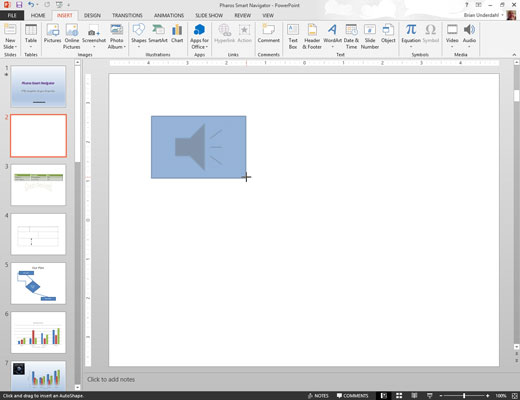
Draw the button on the slide.

Start by pointing to the spot where you want the upper-left corner of the button to appear. Then click and drag to where you want the lower-right corner of the button to appear.
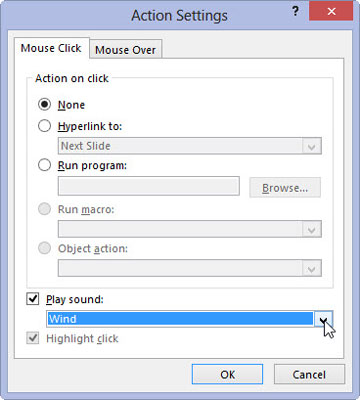
When you release the mouse button, the Action Settings dialog box appears
If you want, change the action settings for the action button.

In most cases, the default setting for the action button that you chose is appropriate for what you want the button to do. For example, the action setting for a Forward or Next button is Hyperlink to Next Slide. If you want the slide to hyperlink to some other location, change the Hyperlink To setting.
Click OK.

The Action Settings dialog box vanishes, and the button is created.


