There's a fuzzy button in the Home tab’s Font group in Word 2013. It looks like a big A, and it’s one of those menu button items that dot the Ribbon like ticks on the back of an Alabama hound dog. Regardless, what it does is let you apply some interesting and nonstandard effects to your document’s text.
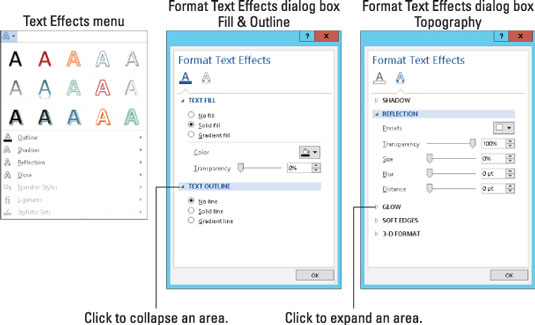
To apply the text effects, simply choose one from the Text Effects menu. The effect you choose is applied to any new text you type or to any selected text in the document.
You can specifically apply an effect or change a color by choosing the specific item from the Text Effects menu. Or if you want to get fancy, you can use the Format Text Effects dialog box. To get there, follow these steps:
Summon the Font dialog box.
The keyboard shortcut is Ctrl+D. The longcut is to click the dialog box launcher, found in the lower-right corner of the Font group on the Home tab.
Click the Text Effects button in the Font dialog box.

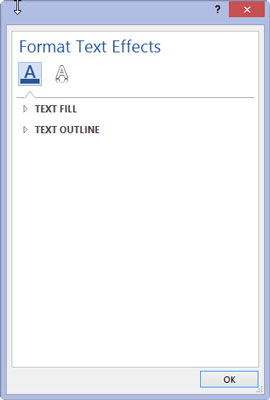
The Format Text Effects dialog box appears.
Click the A button that has the underline to apply text fill and outline effects; other effects are added by clicking the hollow-looking A.

There are two types of effects that are applied in the Format Text Effects dialog box.
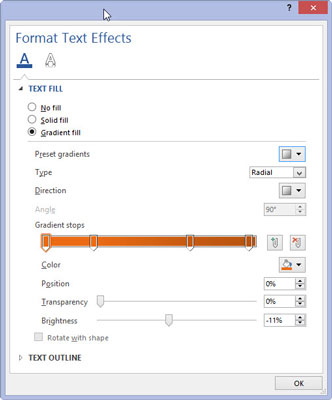
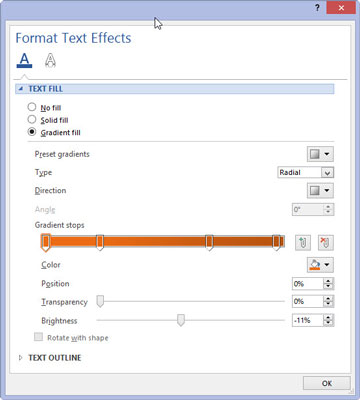
Manipulate the controls in the dialog box to customize text effects.

Wonderful and detailed controls are available in the Format Text Effects dialog box, but sadly, no preview window.
Click the OK button to dismiss the Format Text Effects dialog box.

The box will disappear.
Click the OK button to close the Font dialog box.
The font effects that you select affect any selected text in the document or any text you type from that point onward.
The Text Attributes button doesn’t look fuzzy when you’re working on a Word document saved in an older, DOC file format.
Font effects are best used for document headings and other decorative text.


