The Master Document feature in Word 2013 allows you to collect and coordinate individual documents — called subdocuments — and cobble them all into one, large document. When you have a master document, you can assign continuous page numbers to your work, apply headers and footers throughout the entire project, and take advantage of Word’s Table of Contents, Index, and other list-generating features.
To create a big, whopping document from many smaller documents — to create a master document — obey these steps:
Start a new, blank document in Word and save the document.
You haven’t yet written anything. Don’t worry: By saving now, you get ahead of the game and avoid some weird error messages.
Switch to Outline view.
Click the Outline button on the View tab.
On the Outlining tab in the Master Document group, click the Show Document button.

More choices appear in the Master Document group. One of those choices is the Insert button, used to build the master document.
Click the Insert button.
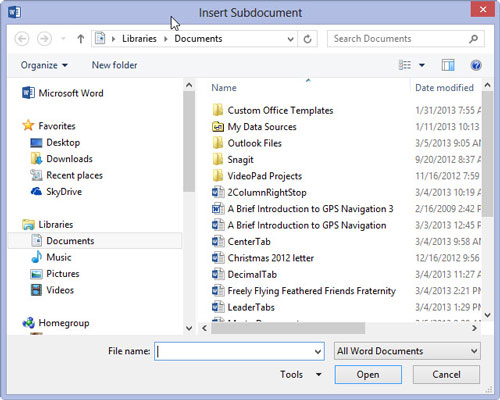
You will see the Insert Subdocument dialog box.
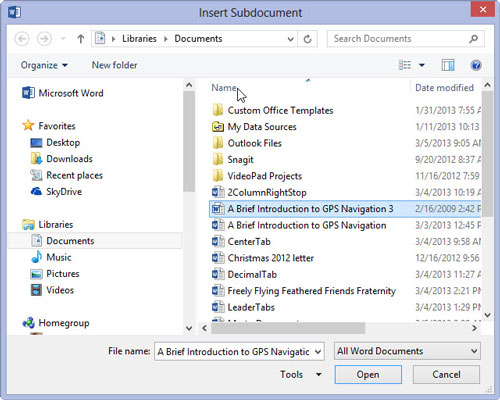
Use the Insert Subdocument dialog box to hunt down the first document to insert into the master document.

The documents must be inserted in order.
Click the Open button to stick the document into the master document.

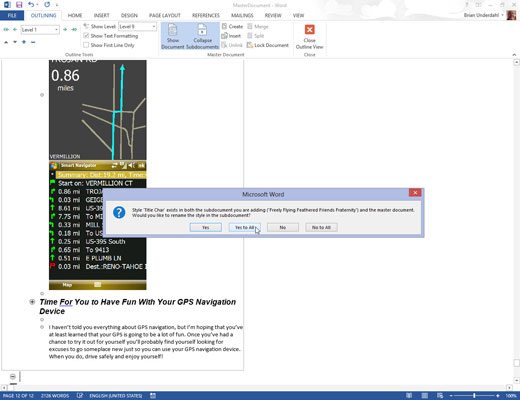
The document appears in the window, but it’s ugly because Outline view is active. Don’t worry: It won’t be ugly when it prints! Word has set itself up for you to insert the next document:
Repeat Steps above to build the master document.

If you’re asked a question about conflicting styles, click the Yes to All button. It keeps all subdocument styles consistent with the master document.
Save the master document when you’re done.
At this point, the master document is created. You can edit the headers and footers, create a table of contents, and work on other items that affect the entire document.


