Don’t think that you have to wait until you finish a document in Word 2013 to save it. In fact, you should save almost immediately — as soon as you have a few sentences or paragraphs. Save! Save! Save!
To save a document for the first time, follow these steps:
Click the File tab and choose the Save As command.
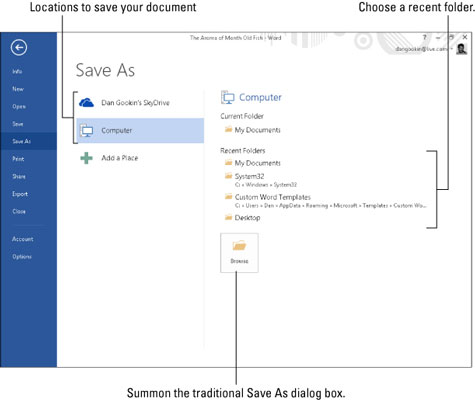
The Save As screen appears. This screen is an intermediate step before the traditional Save As dialog box. It allows you to choose a location for your document, either locally or on the Internet.
Choose a location for the document.
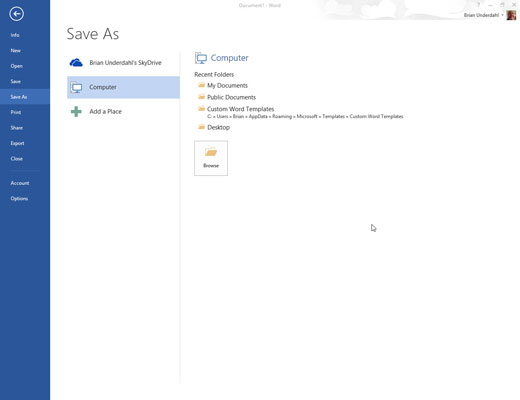
Chose the Computer item to create and save the document on your own computer.
The SkyDrive item saves the file on your Windows SkyDrive, if you’ve set up and configured that feature. The advantage is that your document will be available anywhere you have an Internet access. The disadvantage is that the document is not available when you don’t have Internet access.
Click the Browse button, or choose an item from the Recent Folders list.
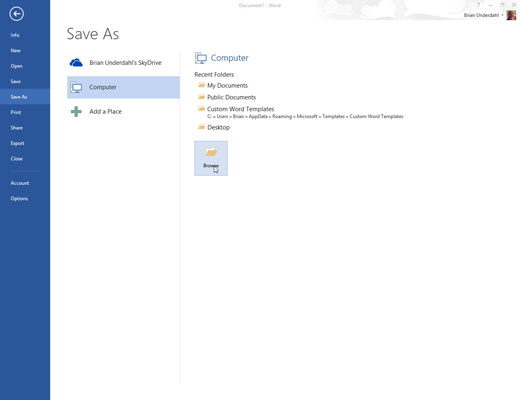
Ah, the familiar Save As dialog box appears.
Type a name for your document in the File Name box.
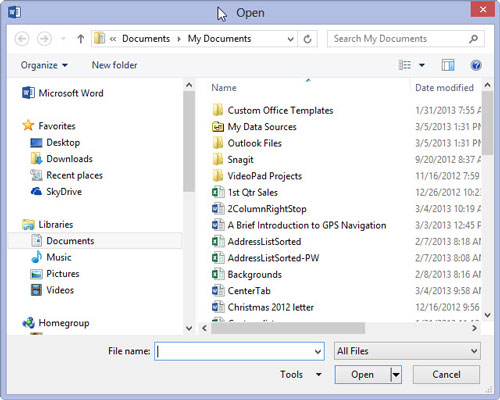
Word automatically selects the first line or first several words of your document as a filename and puts it in the Save As dialog box. If that’s okay, you can move to Step 5. Otherwise, type a name in the File Name box.
Be descriptive! The more concisely you name your document, the easier it is to recognize it by that name in the future.
Work the options in the Save As dialog box (optional).
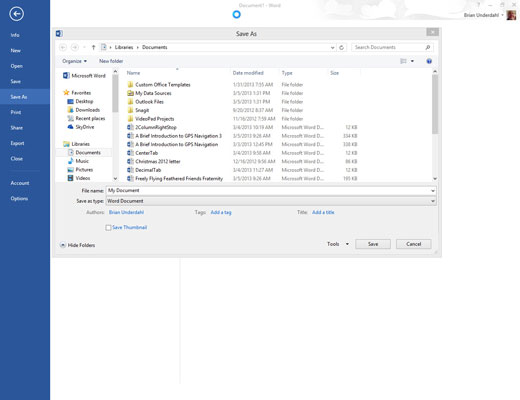
Use the various gizmos in the Save As dialog box to choose a specific folder for your document — though if you chose a specific folder in Step 3, this step is unnecessary.
Click the Save button.
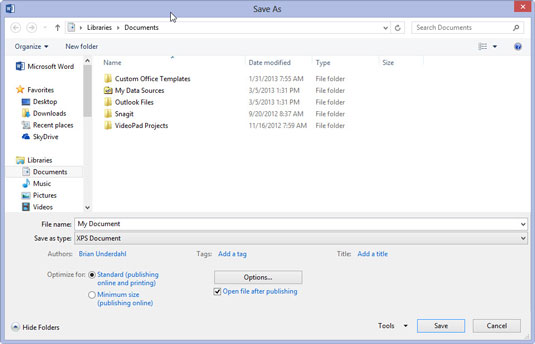
The file is now safely stored in the computer’s storage system.
At this point, you can keep working. As you work, continue to save.


