Headers and footers typically appear on every page of a report. In Excel 2010, a header is printed in the top margin, and a footer is printed in the bottom margin. Headers and footers are often used to identify the document and to display the page numbers and the date and time of printing. Unless you specify otherwise, Excel does not automatically add either a header or footer to a new workbook.
Click the Page Layout button on the View tab of the Ribbon.
Or you can click the Page Layout View button on the Status bar (it’s the one in the middle).
Position the mouse pointer over the Click to Add Header section at the top, or in the Click to Add Footer section at the bottom.
Before you click one of these areas, decide whether you want your headers or footers on the left, on the right, or in the middle.
Click to position the insertion point in either the left, center, or right section of the header or footer area.

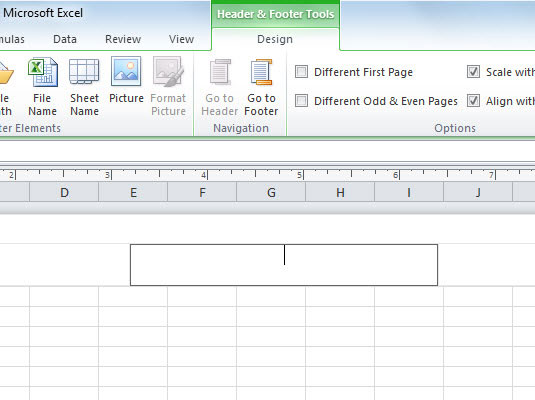
Excel adds a Header & Footer Tools contextual tab with its own Design tab.
Click the Design tab if it isn't already selected.
The Design tab is divided into Header & Footer, Header & Footer Elements, Navigation, and Options groups.
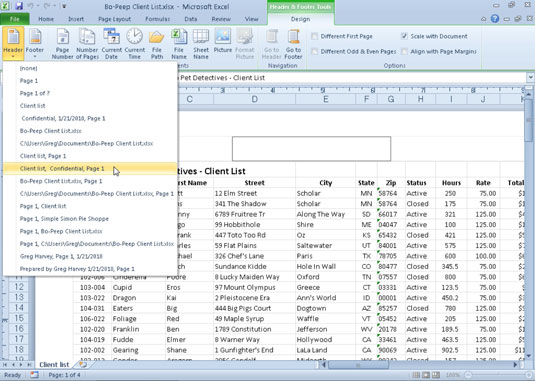
Click either the Header or Footer button (as appropriate) in the Header & Footer group at the left end of the Design tab.

The standard options for the Header or Footer appear in a drop-down list.
Click the header or footer example you want to use on the Header or Footer drop-down menu.

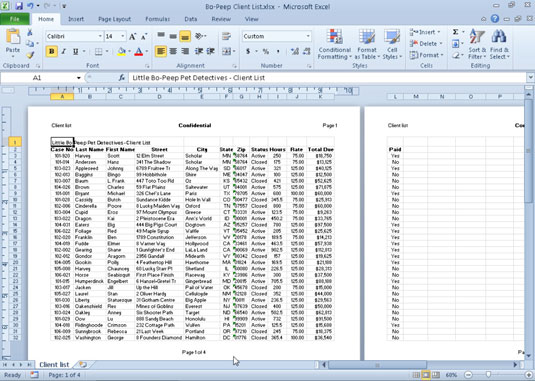
The option you selected now appears in the header or footer area of the worksheet. Repeat Steps 3–6 if you want to try another selection.
Click in the worksheet area and then click the Normal button on the View tab to return to Normal view.
You won’t see the added header or footer in Normal view, but it’s there when you preview or print the worksheet.


