In Excel 2007, you can add borders to certain cells to emphasize or define sections of a worksheet or table. Use the Borders button in the Font group of the Home tab to add borders of varying styles and colors to any or all sides of the cell selection.
Don’t confuse the borders that you add to accent a particular cell selection with the gridlines normally used to define cell borders in the worksheet — borders that you add are printed whether or not you print the worksheet gridlines. You can remove the display of gridlines by clearing the View check box in the Gridlines section of the Page Layout tab.
Follow these steps to add cell borders:
Select the cells you want to format.
Click the down arrow beside the Borders button in the Font group of the Home tab.
A drop-down menu appears, with all the border options you can apply to the cell selection.
 Use the Borders button on the Home tab to choose borders for the selected cells.
Click the type of line you want to apply to the selected cells.
When selecting an option on the Borders drop-down menu, keep these things in mind:
To have Excel draw borders only around the outside edges of the entire cell selection, click the Outside Borders or the Thick Box Border option.
If you want borderlines to appear around all four edges of each cell you've selected, select the All Borders option.
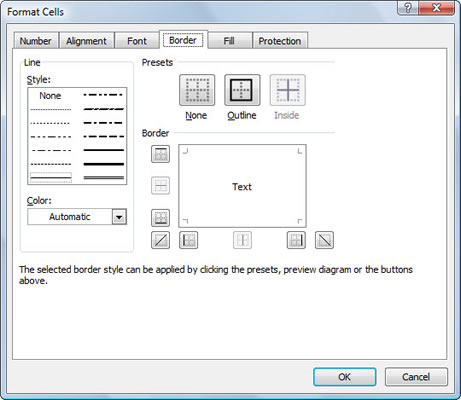
To change the type of line or line thickness or color of the borders you apply to a cell selection, open the Format Cells dialog box and use the options on its Border tab (click More Borders at the bottom of the Borders button’s drop-down menu or press Ctrl+1 and then click the Border tab).

To remove borders in a worksheet, select the cell or cells that presently contain them and then click the No Border option in the Borders button’s drop-down menu.


