Instead of using drag and drop or AutoFill in Excel 2013, you can use the old standby Cut, Copy, and Paste commands to move or copy information in a worksheet. These commands use the Office Clipboard as a kind of electronic halfway house where the information you cut or copy remains until you decide to paste it somewhere.
You can use these commands to move or copy information to any other workbook open in Excel or even to other programs running in Windows.
To move a cell selection with Cut and Paste, follow these steps:
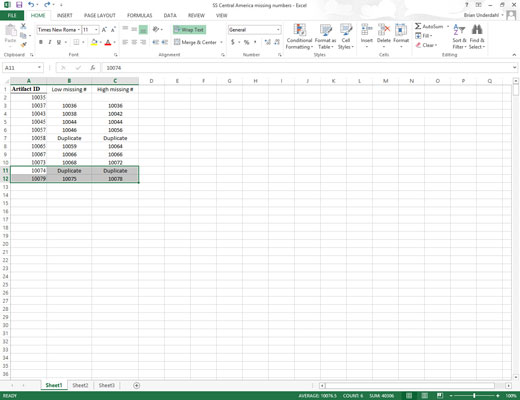
Select the cells you want to move.

Use the mouse to select the cells that you want to move.
Click the Cut command button in the Clipboard group on the Home tab (the button with the scissors icon).

If you prefer, you can choose Cut by pressing Ctrl+X.
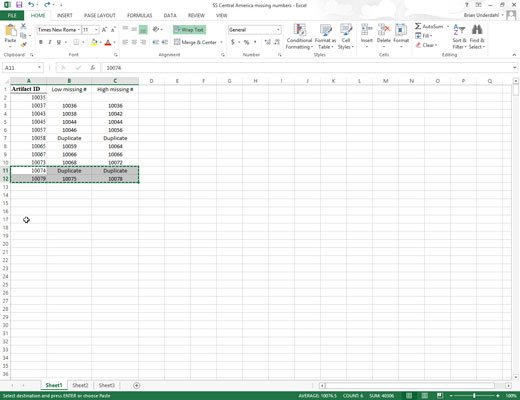
Whenever you choose the Cut command in Excel, the program surrounds the cell selection with a marquee (a dotted line that travels around the cells’ outline) and displays this message on the Status bar:
Select destination and press ENTER or choose Paste.
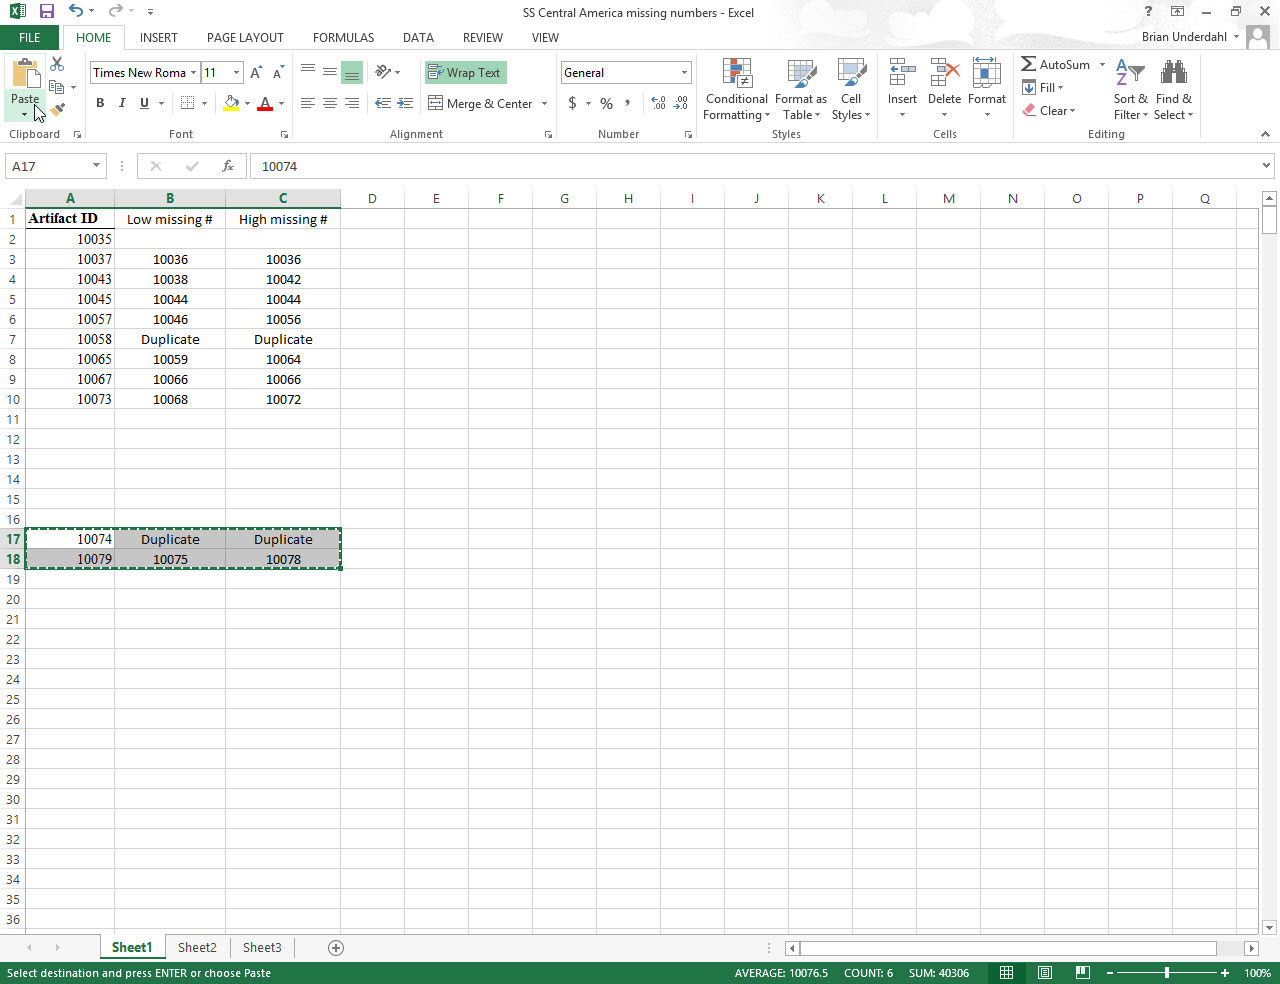
Move the cell cursor to the new range to which you want the information moved, or click the cell in the upper-left corner of the new range.

Notice that when you indicate the destination range, you don’t have to select a range of blank cells that matches the shape and size of the cell selection you’re moving. Excel needs to know only the location of the cell in the upper-left corner of the destination range to figure out where to put the rest of the cells.
Press Enter to complete the move operation.

If you’re feeling ambitious, click the Paste command button in the Clipboard group on the Home tab or press Ctrl+V.


