To log in to the web-based version of Teams, follow these steps:
- Open your favorite web browser and navigate to Microsoft.com.
- Log in using the account credentials you created when you signed up for the Office 365 trial.
- When presented with the option to download Teams or use the web app, click the Use the Web App Instead link.
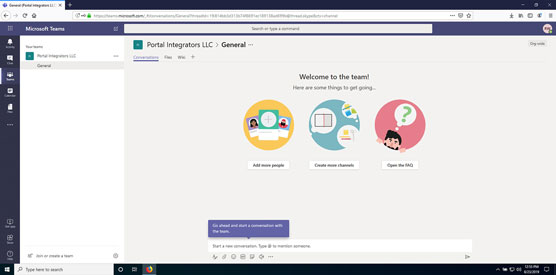
After logging in, you are presented with the main Teams app running inside your web browser, as shown.
 Microsoft Teams running in a web browser.
Many people just use this web-based experience to use Teams. However, I prefer the client that I download and install on my local computer. I find it has much more functionality and integrates better with devices like my headset for making phone calls and my webcam for making video calls.
To install the Teams client on your Windows laptop or desktop computer, follow these steps:- Open your web browser and navigate to Microsoft.com. If you have not yet logged in to the web app from the previous set of steps, you will be asked to log in. If you have already logged in, you will see the Teams web app displayed in your browser (shown).
- Log in to the Teams site by entering the credentials you set up in Chapter 1 if you aren’t already logged in.
When you first log in to the Teams site, you are presented with an option of installing the Teams client or continuing to the web app. In the previous set of steps, we continued to the web app. Here, we will install the desktop client.
- Click your profile icon that appears in the top-right corner and choose Download the Desktop App as shown.
- Save the file to your computer.
 Your profile drop-down menu has options to install the desktop and mobile apps.
You can set the location on your computer’s hard drive where your web browser downloads files. By default, files are usually set to download to a Downloads folder, which is where all downloads are stored. If you can’t find the file you downloaded, check the configuration for your web browser to see where it places files it has downloaded.
- Once the Teams setup file has downloaded, open and run the file.
After a few moments, a dialog box appears asking you to sign in, as shown.
 A sign-in dialog box appears when Teams first installs.
 - Enter your username and click Sign In.
If you have already signed in to Teams using your web browser, you won’t be asked for your password again.
The Teams client loads and let you know that there is one last step to get Teams set up and connected to Office, as shown.
 A dialog box lets you know Teams will now be connected to Office.
 - Click Let’s Do It to continue and then click Yes to allow Teams to make changes to your computer. Teams works in the background to connect with Office on your computer and then loads the Teams application, as shown.
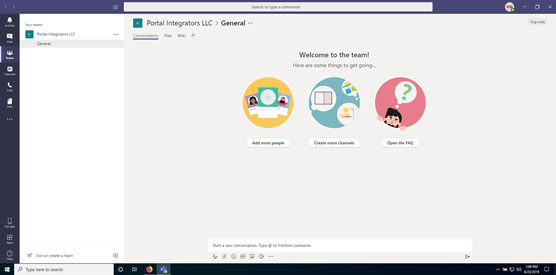
 The Teams client running on your local computer.
Congratulations! You now have Teams running on your local computer.


