You can use CSS3 to draw borders around any HTML5 element. You have some freedom in the border size, style, and color. Here are two ways to define border properties: using individual border attributes, and using a shortcut. Borders don't actually change the layout, but they do add visual separation that can be appealing, especially when your layouts are more complex.
How to use the border attributes
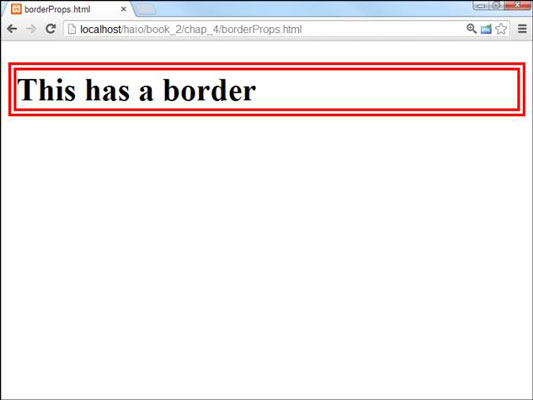
Here is a page with a simple border drawn around the heading.

The code for the borderProps.html page demonstrates the basic principles of borders in CSS:
<!DOCTYPE html>
<html lang = "en-US">
 <head>
 <meta charset = "UTF-8">
 <title>borderProps.html</title>
 <style type = "text/css">
  h1 {
  border-color: red;
  border-width: .25em;
  border-style: double;
  }
 </style>
 </head>
 <body>
 <h1>This has a border</h1>
 </body>
</html>
Each element can have a border defined. Borders require three attributes:
width: The width of the border. This can be measured in any CSS unit, but border width is normally described in pixels or ems. (Remember: An em is roughly the width of the capital letter “M” in the current font.)
color: The color used to display the border. The color can be defined like any other color in CSS, with color names or hex values.
style: CSS supports a number of border styles. The example illustrates a double border. This draws a border with two thinner lines around the element.
You must define all three attributes if you want borders to appear properly. You can't rely on the default values to work in all browsers.
How to define border styles
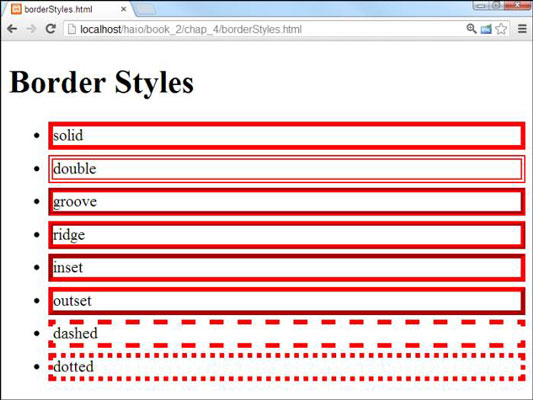
CSS has a predetermined list of border styles you can choose from. Here is a page with all the primary border styles displayed.

You can choose any of these styles for any border:
Solid: A single solid line around the element.
Double: Two lines around the element with a gap between them. The border width is the combined width of both lines and the gap.
Groove: Uses shading to simulate a groove etched in the page.
Ridge: Uses shading to simulate a ridge drawn on the page.
Inset: Uses shading to simulate a pressed-in button.
Outset: Uses shading to simulate a button sticking out from the page.
Dashed: A dashed line around the element.
Dotted: A dotted line around the element.
How to use the border shortcut
Defining three different CSS attributes for each border is a bit tedious. Fortunately, CSS includes a handy border shortcut that makes borders a lot easier to define.

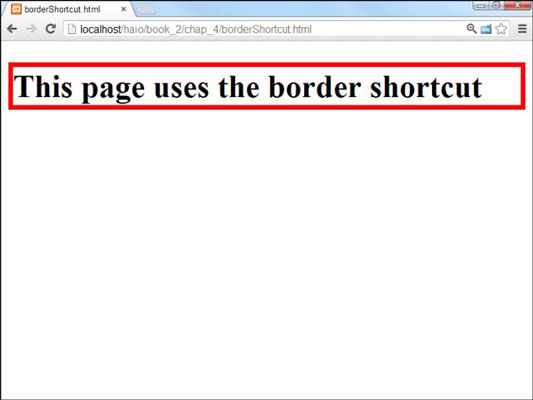
You can't tell the difference from the output, but the code for borderShortcut.html is extremely simple:
<!DOCTYPE html>
<html lang = "en-US">
 <head>
 <meta charset = "UTF-8">
 <title>borderShortcut.html</title>
 <style type = "text/css">
  h1 {
  border: red 5px solid;
  }
 </style>
 </head>
 <body>
 <h1>This page uses the border shortcut</h1>
 </body>
</html>
The order in which you describe border attributes doesn't matter. Just specify a color, a size, and a border style.
How to create partial borders
If you want, you can have more precise control of each side of a border. There are a number of specialized border shortcuts for each of the sub-borders.

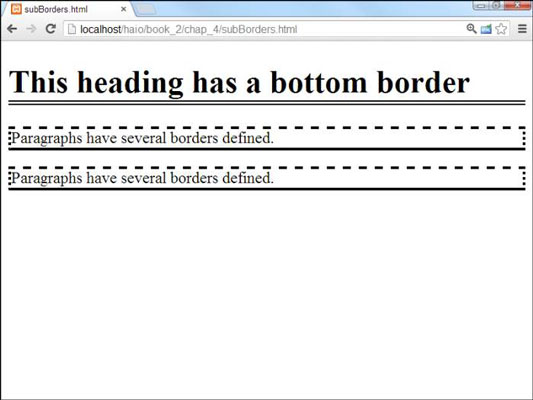
This page applies a border style to the bottom of the heading as well as different borders above, below, and to the sides of the paragraphs. Partial borders are pretty easy to build, as you can see from the code listing:
<!DOCTYPE html>
<html lang = "en-US">
 <head>
 <meta charset = "UTF-8">
 <title>subBorders.html</title>
 <style type = "text/css">
  h1 {
  border-bottom: 5px black double;
  }
  p {
  border-left:3px black dotted;
  border-right: 3px black dotted;
  border-top: 3px black dashed;
  border-bottom: 3px black groove;
  }
 </style>
 </head>
 <body>
 <h1>This heading has a bottom border</h1>
 <p>
  Paragraphs have several borders defined.
 </p>
 <p>
  Paragraphs have several borders defined.
 </p>
 </body>
</html>
Notice the border styles: border-top, border-bottom, border-left, and border-right. Each of these styles acts like the border shortcut, but it only acts on one side of the border.
There are also specific border attributes for each side (bottom-border-width adjusts the width of the bottom border, for example), but they're almost never used because the shortcut version is so much easier.


